Lemon Pudding Cakes- Easy & Zesty Dessert Recipe
Lemon Pudding Cakes are a delightful paradox, a dessert that manages to be both incredibly comforting and elegantly sophisticated all at once. Imagin extracte a spoonful that delivers a burst of bright, zesty citrus, followed by a lusciously tender, almost custard-like interior, all crowned with a delicate, slightly caramelized top. It’s no wonder these individual treasures have captured the hearts of so many home bakers and dessert enthusiasts. What makes Lemon Pudding Cakes so utterly irresistible? It’s that magical textural transformation that happens in the oven, where a simple batter magically separates into a soft cake layer above and a creamy pudding below. This interplay of textures, combined with the sunshine-kissed flavor of fresh lemon, creates a truly unforgettable culinary experience that’s perfect for any occasion, from a casual afternoon treat to a special celebration dessert.
Why We Adore This Recipe
The Perfect Balance of Sweet and Tart

Ingredients:
- 2 tablespoons salted butter, melted and slightly cooled, plus more for greasing the ramekins
- 3 large eggs, separated
- 3/4 cup buttermilk
- 1/3 cup all-purpose flour
- Zest and juice of 2 lemons
- 1/4 teaspoon kosher salt
- 1 1/4 cups granulated sugar
- Boiling water, for the water bath
- Powdered sugar, for dusting
- Whipped cream, for serving
- Fresh raspberries, for serving
Preparing the Pudding Base
Step 1: Butter and Sugar the Ramekins
The first crucial step to ensuring your Lemon Pudding Cakes release beautifully and develop that lovely caramelized edge is to properly prepare your ramekins. You’ll need four 6-ounce ramekins for this recipe. Start by generously buttering the inside of each ramekin. Use a pastry brush or a folded paper towel dipped in softened or melted butter to ensure every nook and cranny is coated. Don’t be shy with the butter; this acts as a non-stick barrier. Once buttered, evenly coat the inside with granulated sugar. Pour about a tablespoon of sugar into each ramekin and tilt and rotate them until the entire inner surface is covered. Discard any excess sugar. This sugary coating will not only prevent sticking but also create a delightful slightly crunchy crust on the finished cakes.
Step 2: Whisk Together Wet Ingredients and Dry Ingredients Separately
In a medium bowl, whisk together the melted and slightly cooled butter with the egg yolks. It’s important that the butter isn’t too hot, or it could scramble the yolks. Whisk until the mixture is smooth and well combined. In a separate, larger bowl, whisk together the all-purpose flour, kosher salt, and 1/2 cup of the granulated sugar. Make sure these dry ingredients are thoroughly combined to avoid pockets of flour in your batter. Now, add the buttermilk, lemon zest, and lemon juice to the egg yolk and butter mixture. Whisk until everything is homogenous. The zest will release its fragrant oils, and the juice will add that signature bright citrus flavor.
Incorporating the Meringue
Step 3: Combine Wet and Dry Mixtures and Create the Pudding Base
Gradually add the flour mixture to the wet ingredients, whisking constantly until just combined. Be careful not to overmix; overmixing can develop the gluten in the flour, leading to a tougher cake. The batter will be quite thick at this stage. In a clean, dry bowl (this is important for achieving maximum volume), beat the egg whites with an electric mixer on medium speed until soft peaks form. Gradually add the remaining 3/4 cup of granulated sugar, one tablespoon at a time, while continuing to beat. Increase the speed to high and beat until stiff, glossy peaks form. This is your meringue. Gently fold about one-third of the meringue into the lemon batter to lighten it. Then, carefully fold in the remaining meringue in two additions, being careful not to deflate the airy structure of the egg whites. The goal is to incorporate the meringue without overmixing, creating a light and fluffy batter that will give the pudding cakes their signature airy texture.
Baking and Serving
Step 4: Assemble for Baking in a Water Bath
Preheat your oven to 350°F (175°C). Place your prepared ramekins into a larger baking dish, such as a roasting pan. Carefully pour the lemon pudding cake batter into the prepared ramekins, filling them about three-quarters full. You want to leave a little room for them to rise. Once the ramekins are filled, carefully pour boiling water into the larger baking dish, making sure the water level comes about halfway up the sides of the ramekins. This technique, known as a water bath or bain-marie, is essential for gentle, even cooking and helps prevent the pudding cakes from cracking and ensures a wonderfully creamy texture. Place the baking dish carefully into the preheated oven.
Step 5: Baking and Resting
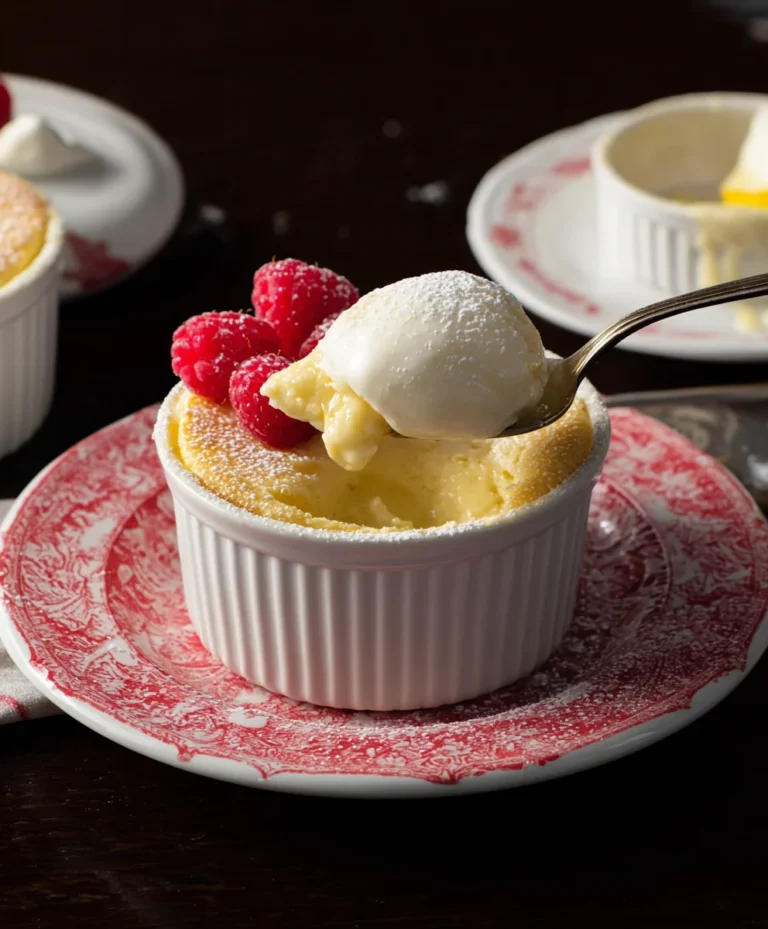
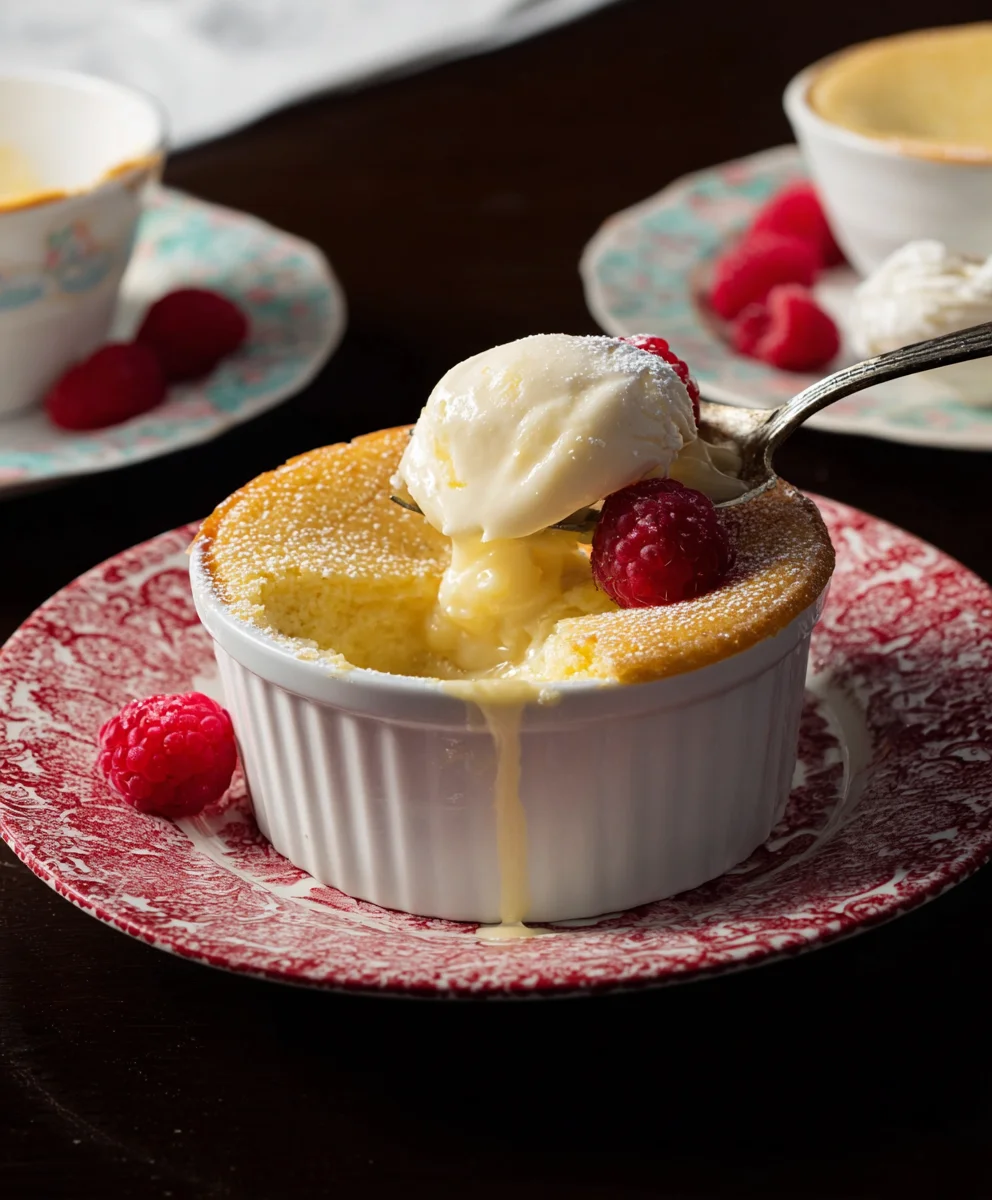
Bake for 35 to 45 minutes, or until the pudding cakes are golden brown on top and have puffed up significantly. The tops should look set, and a skewer inserted into the center of a cake should come out with moist crum extractbs attached, not wet batter. Once baked, carefully remove the baking dish from the oven. Let the ramekins sit in the water bath for about 10 minutes. This allows them to firm up further. After this initial rest, carefully remove the ramekins from the water bath and place them on a wire rack to cool slightly for another 5-10 minutes before serving. While they are best served warm, they can also be enjoyed at room temperature. To serve, you can either eat them directly from the ramekin or carefully invert them onto dessert plates. Dust generously with powdered sugar, and serve immediately with a dollop of whipped cream and a scattering of fresh raspberries for a beautiful and delicious finish. The contrast of the warm, tangy lemon pudding cake with the cool, creamy whipped cream and tart berries is simply divine.
Conclusion:
And there you have it! You’ve successfully navigated the delightful journey of creating your very own Lemon Pudding Cakes. This recipe truly delivers on its promise of a light, airy cake with a hidden treasure of luscious lemon pudding at its core. The interplay of textures and the bright, zesty flavor make these cakes a truly special treat, perfect for impressing guests or simply indulgin extractg in a moment of pure culinary joy. Don’t be intimidated by the seemingly dual nature of the dessert; the process is straightforward and incredibly rewarding.
For serving suggestions, these Lemon Pudding Cakes are divine on their own, perhaps with a dusting of powdered sugar. However, I highly recommend pairing them with a dollop of fresh whipped cream or a scoop of vanilla bean ice cream for an extra layer of indulgence. A few fresh berries, like raspberries or blueberries, also add a beautiful contrast in color and a burst of freshness.
If you’re feeling adventurous, consider variations! You could introduce a hint of lavender or a tgin extracth of ginger to the batter for a more complex flavor profile. For a citrus twist, try adding a tablespoon of finely grated lime zest alongside the lemon. And if you’re a chocolate lover, a drizzle of white chocolate ganache over the finished cakes can be absolutely heavenly.
I truly hope you enjoy making and devouring these Lemon Pudding Cakes as much as I do. Embrace the magic of this recipe and savor every bite!
Frequently Asked Questions about Lemon Pudding Cakes:
Q1: Can I make these Lemon Pudding Cakes ahead of time?
While they are best enjoyed fresh from the oven for the optimal pudding consistency, you can prepare the batter a few hours in advance and refrigerate it. However, the pudding layer may become less distinct if left too long. For the best texture, it’s recommended to bake them closer to serving time.
Q2: My pudding layer didn’t form properly. What went wrong?
This can sometimes happen if the oven temperature is too low or the baking time is insufficient. Ensure your oven is preheated accurately. Also, the custard-like pudding forms from the batter separating during baking, so it needs that gentle, steady heat. Another common cause can be overmixing the batter, which can affect the separation.
Lemon Pudding Cakes- Easy & Zesty Dessert Recipe
Delightfully zesty and incredibly easy lemon pudding cakes with a creamy texture and a slightly crunchy crust. Perfect for a bright and refreshing dessert.
Ingredients
-
2 tablespoons salted butter, melted and slightly cooled, plus more for greasing the ramekins
-
3 large eggs, separated
-
3/4 cup buttermilk
-
1/3 cup all-purpose flour
-
Zest and juice of 2 lemons
-
1/4 teaspoon kosher salt
-
1 1/4 cups granulated sugar
-
Boiling water, for the water bath
-
Powdered sugar, for dusting
-
Whipped cream, for serving
-
Fresh raspberries, for serving
Instructions
-
Step 1
Generously butter the inside of four 6-ounce ramekins. Coat the inside with granulated sugar, tilting and rotating to cover the entire surface. Discard any excess sugar. -
Step 2
In a medium bowl, whisk together the melted butter and egg yolks until smooth. In a separate large bowl, whisk together flour, salt, and 1/2 cup granulated sugar. Add buttermilk, lemon zest, and lemon juice to the butter and yolk mixture, then whisk until homogenous. -
Step 3
Gradually add the dry ingredients to the wet ingredients, whisking until just combined. In a clean bowl, beat egg whites until soft peaks form. Gradually add the remaining 3/4 cup granulated sugar while beating. Increase speed to high and beat until stiff, glossy peaks form. Gently fold about one-third of the meringue into the lemon batter to lighten it, then carefully fold in the remaining meringue in two additions. -
Step 4
Preheat oven to 350°F (175°C). Place prepared ramekins into a larger baking dish. Pour batter into ramekins, filling about three-quarters full. Pour boiling water into the baking dish until it comes about halfway up the sides of the ramekins. -
Step 5
Bake for 35 to 45 minutes until golden brown and puffed. Let ramekins sit in the water bath for 10 minutes. Remove from water bath and cool slightly on a wire rack for 5-10 minutes. Dust with powdered sugar and serve warm with whipped cream and fresh raspberries.
Important Information
Nutrition Facts (Per Serving)
It is important to consider this information as approximate and not to use it as definitive health advice.
Allergy Information
Please check ingredients for potential allergens and consult a health professional if in doubt.